1.安装MySQL
运行以下命令更新yum源。
rpm -Uvh http://dev.mysql.com/get/mysql57-community-release-el7-9.noarch.rpm |
2.运行以下命令安装MySQL。
yum -y install mysql-community-server |
3.运行以下命令查看MySQL版本号。
mysql -V |
4.返回结果如下,表示MySQL安装成功。
mysql Ver 14.14 Distrib 5.7.25, for Linux (x86_64) using EditLine wrapper |
2.配置MySQL
1.运行以下命令启动MySQL服务。
systemctl start mysqld |
2.运行以下命令设置MySQL服务开机自启动。
systemctl enable mysqld |
3.运行以下命令查看/var/log/mysqld.log文件,获取并记录root用户的初始密码。
# grep 'temporary password' /var/log/mysqld.log |
说明:下一步重置root用户密码时,会使用该初始密码。
4.运行下列命令配置MySQL的安全性。
mysql_secure_installation |
安全性的配置包含以下五个方面:
1.重置root账号密码。
Enter password for user root: #输入上一步获取的root用户初始密码 |
2.输入Y删除匿名用户账号。
By default, a MySQL installation has an anonymous user, allowing anyone to log into MySQL without having to have a user account created for them. This is intended only for testing, and to make the installation go a bit smoother. You should remove them before moving into a production environment. |
3.输入Y禁止root账号远程登录。
Disallow root login remotely? (Press y|Y for Yes, any other key for No) : Y #禁止root远程登录,输入Y |
4.输入Y删除test库以及对test库的访问权限。
Remove test database and access to it? (Press y|Y for Yes, any other key for No) : Y #是否删除test库和对它的访问权限,输入Y |
更多详情,请参见官方文档。
使用root用户连接mysql。
mysql -u root -p
查看用户信息。
select host,user,plugin,authentication_string from mysql.user;
1 修改root用户密码。
ALTER USER 'root'@'%' IDENTIFIED WITH mysql_native_password BY 'newpassword'; #更新一下用户的密码 root用户密码为newpassword
2 添加新用户,参考地址点这里。
允许本地 IP 访问 localhost, 127.0.0.1:
create user 'test'@'localhost' identified by '123456'; |
允许外网 IP 访问:
create user 'test'@'%' identified by '123456'; |
刷新授权 :
flush privileges; |
6.3 为用户创建数据库
create database test DEFAULT CHARSET utf8 COLLATE utf8_general_ci; |
6.4 为新用户分配权限
授予用户通过外网IP对于该数据库的全部权限:
grant all privileges on `testdb`.* to 'test'@'%' identified by '123456'; |
授予用户在本地服务器对该数据库的全部权限:
grant all privileges on `testdb`.* to 'test'@'localhost' identified by '123456'; |
刷新权限:
flush privileges; |
退出 root 重新登录:
exit |
用新帐号 test 重新登录,由于使用的是 % 任意IP连接,所以需要指定外部访问IP
mysql -u test -h 192.168.1.11 -p |
另:在Ubuntu服务器下,MySQL默认是只允许本地登录,因此需要修改配置文件将地址绑定给注释掉:
不然会报如下错误:
ERROR 2003 (HY000): Can’t connect to MySQL server on ‘host’ (111)
# Instead of skip-networking the default is now to listen only on |
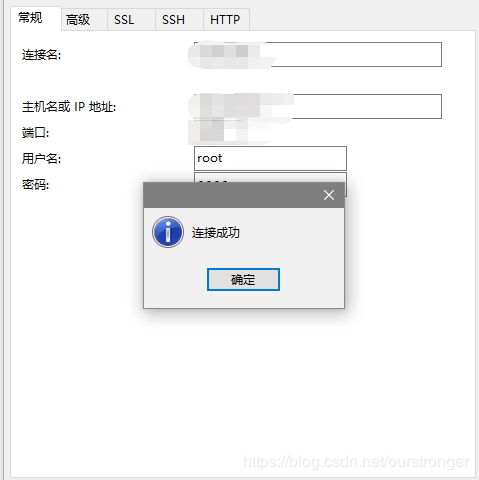
7.使用navicat连接远程mysql。
输入下列命令:
mysql> grant ALL PRIVILEGES ON *.* to root@"%" identified by "xxxx" WITH GRANT OPTION; |
(其中 第一个表示数据库名;第二个表示该数据库的表名;如果像上面那样 *.*的话表示所有到数据库下到所有表都允许访问,当然你也可以根据自己的情况修改;%:表示允许访问到mysql的ip地址,当然你也可以配置为具体到ip名称,%表示所有ip均可以访问;后面到‘xxxx为root 用户的password;) //CentOS 7下亲测
配置成功后连接测试如下图: